
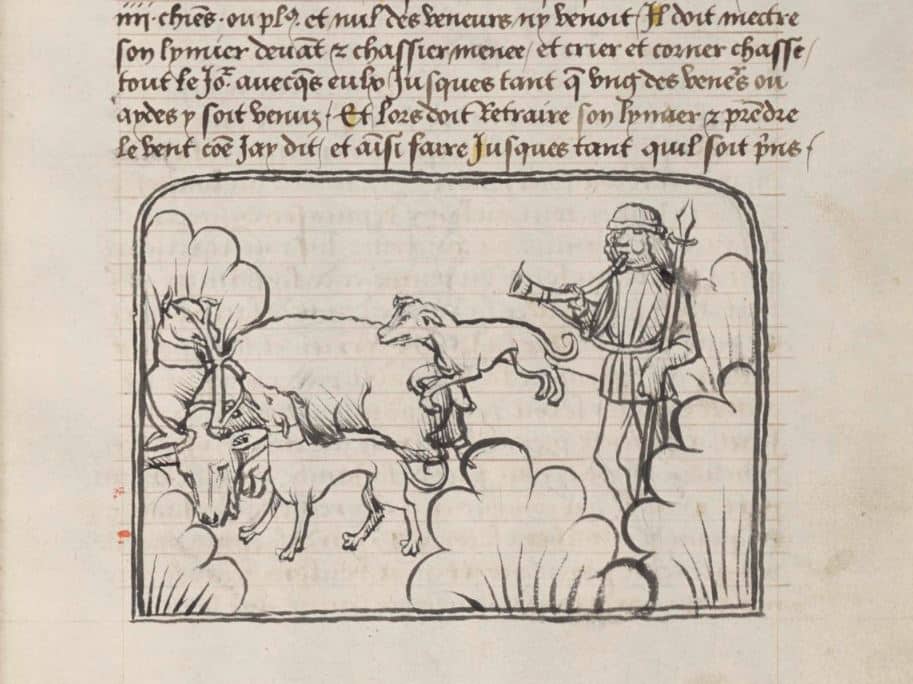
Many medieval manuscripts are enriched with various forms of illustration: detailed miniatures covering the entire page, exuberant marginal decorations or small monochrome initials. But how did the illuminators go about making these paintings?
From animal skin to book page
Although there were also manuscripts on paper, the majority of them were produced on parchment. After the parchment manufacturing process, the surface was treated (degreasing, sanding with pumice stone) while the animal skin was still stretched on a drying frame.
At the end of the drying process, the parchment maker smoothed the surface of the parchment by scraping it with a half-moon knife to even out the thickness of the parchment. They might also apply an alkaline paste to improve the degreasing of the skin and obtain a whiter parchment.
Finally, sanding with a pumice stone evened out the surface so that it became velvety, opaque and white, making it easier to be written on correctly. The parchment was then cut and folded to form the quires, sets of sheets folded in half that would be sewn together to form the book.?
Copying then illuminating
The copyist began by setting the layout of their manuscript. This step was called ruling: the copyist drew lines and columns across all the sheets which they would use to write the text. Spaces were also left for miniatures and decorations, which were then assigned to the illuminator. It goes without saying that this work required rigorous and practical organisation.
Since writing the text was the step that took the longest time and took up the most space on the page, this was done first. This order of doing things also made it possible to use the text to build the iconography of the illuminations, avoid damaging the paintings during the writing process and correct the text without losing the decorative work, which, as we shall see below, was created using expensive and precious materials.
This structure also testifies to the importance of the illumination in the manuscripts. Although illumination was the last step before a manuscript was bound, the size, importance and number of miniatures were already set long before the copyist began their work.
No illumination without gilding
We speak of illuminated manuscripts when gilding is used. Some miniatures in medieval manuscripts were simple drawings, but in most cases they were intended to be coloured and illuminated.
In the 14th and 15th centuries, the use of gilding decreased sharply to make way for a form of realism that favoured landscapes or architectural decorations.
When gilding was applied, it was the first step of the decoration even before painting. Otherwise, the miniaturist risked the gold leaf clinging to the paint pigments or damaging the paint when polishing the gold leaf.
Gilding for dummies
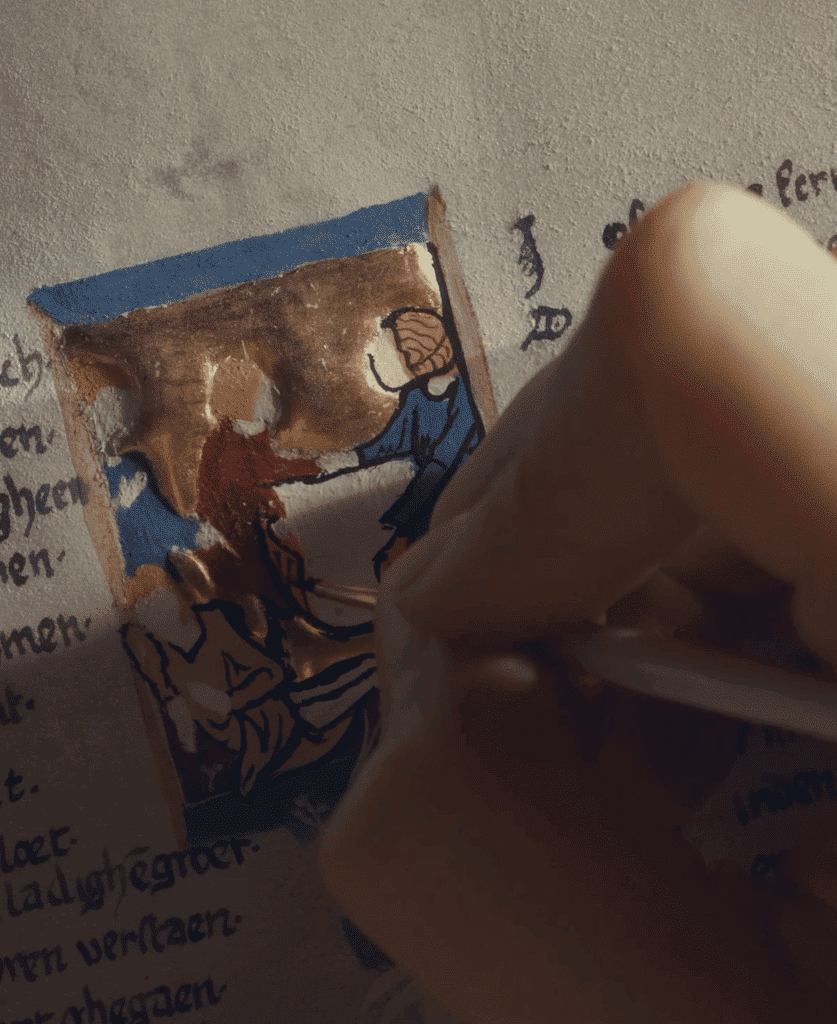
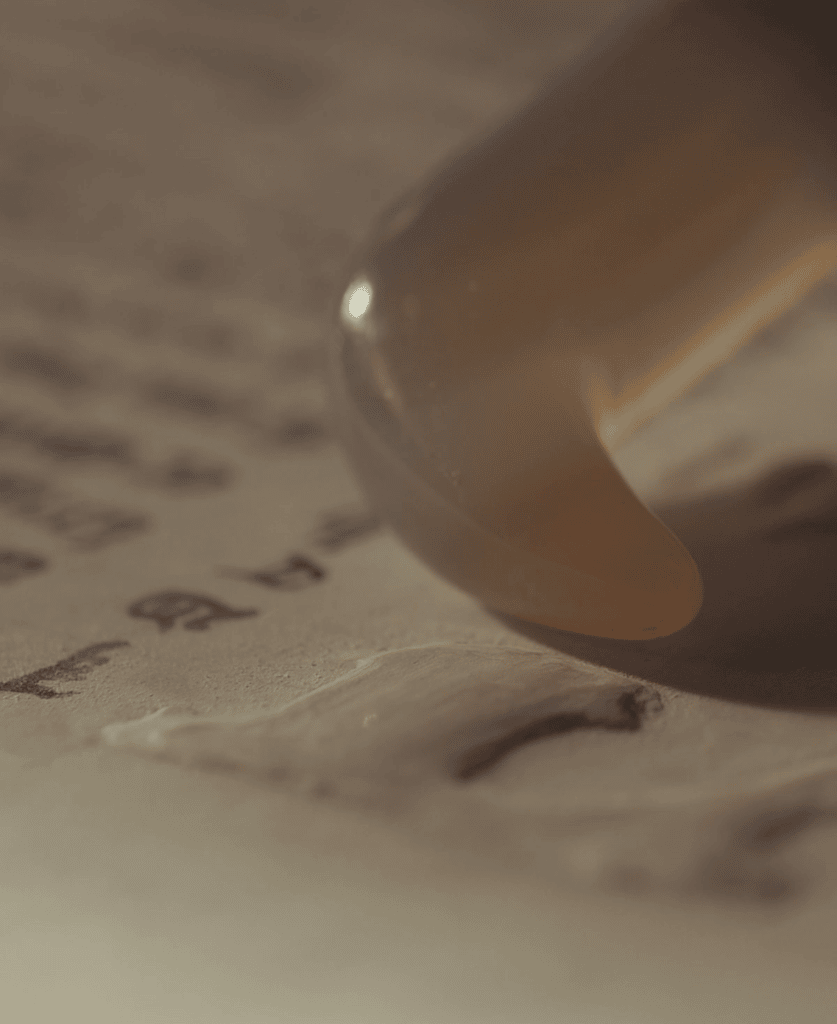
Applying gold leaf was precision work. Gold leaf could be applied without any preparation and “stuck” directly onto the support using egg white. The gilding then took on a flat, matte appearance.
Gilding could also be applied to a preparation which was generally white but which could also be coloured by adding pigments. This preparation, called “gesso”, consisted of plaster or chalk and animal glue and was laid in thin successive layers.
Once the gesso was dry, the surface was lightly sanded and then polished a first time. The result was a smooth, rounded surface. This was again wetted slightly in order to reactivate the glue in the preparation and fix the gold leaf. After drying, the leaf was polished gently (with a polished stone such as agate, or a wolf’s tooth, for example) to obtain a very shiny gilding, without tearing it off.
Sometimes, both techniques were used in the same miniature to obtain various light or aesthetic effects. The use of gesso created a highly polished, domed surface that made the gold shine. This way, the reflected light seemed to emanate from the manuscript itself. You could say that certain “special effects” were already being used in the Middle Ages, so to speak.
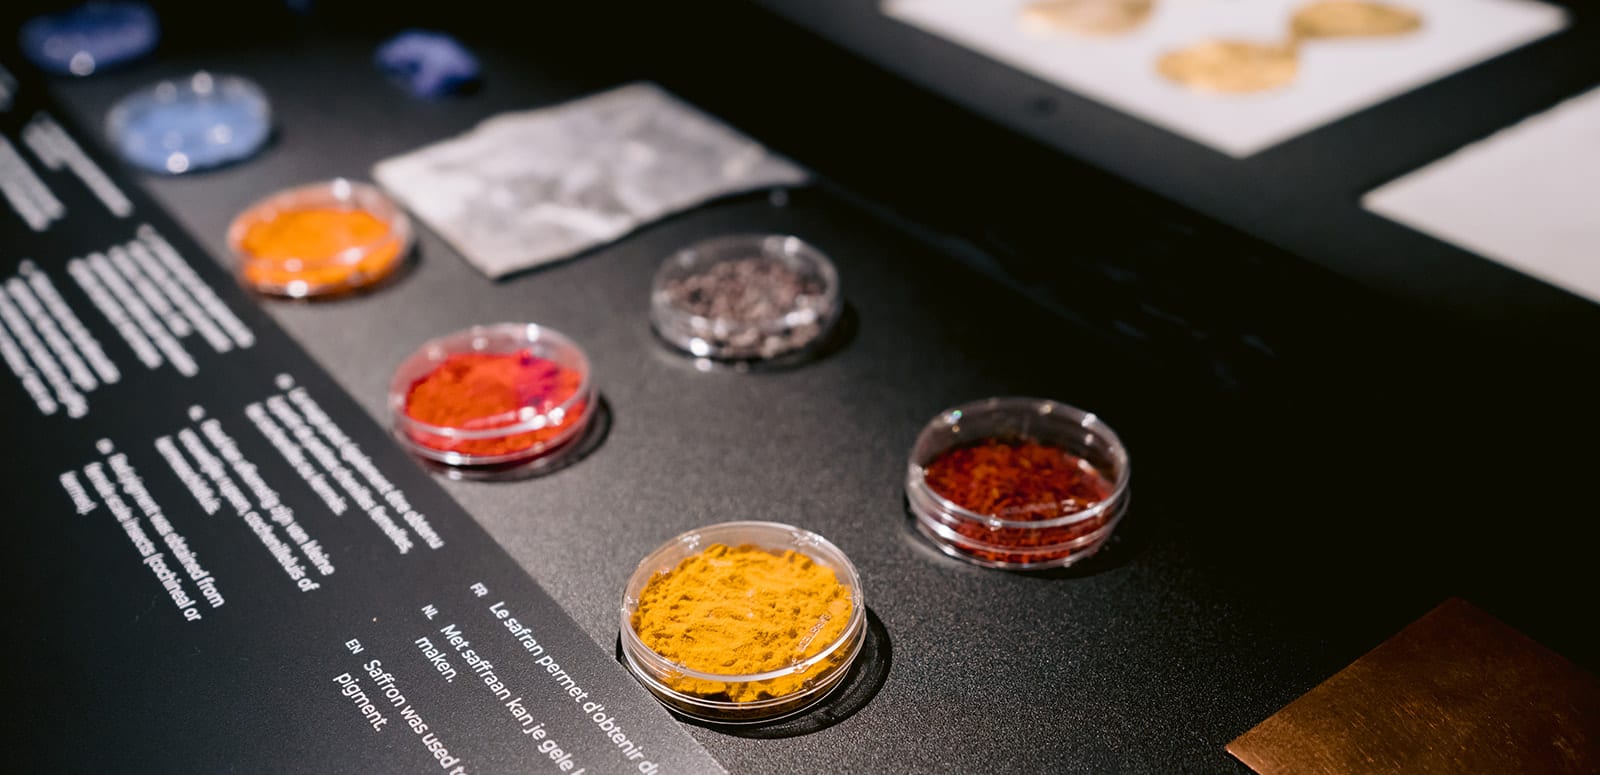
Cochineal, lapis lazuli or saffron?
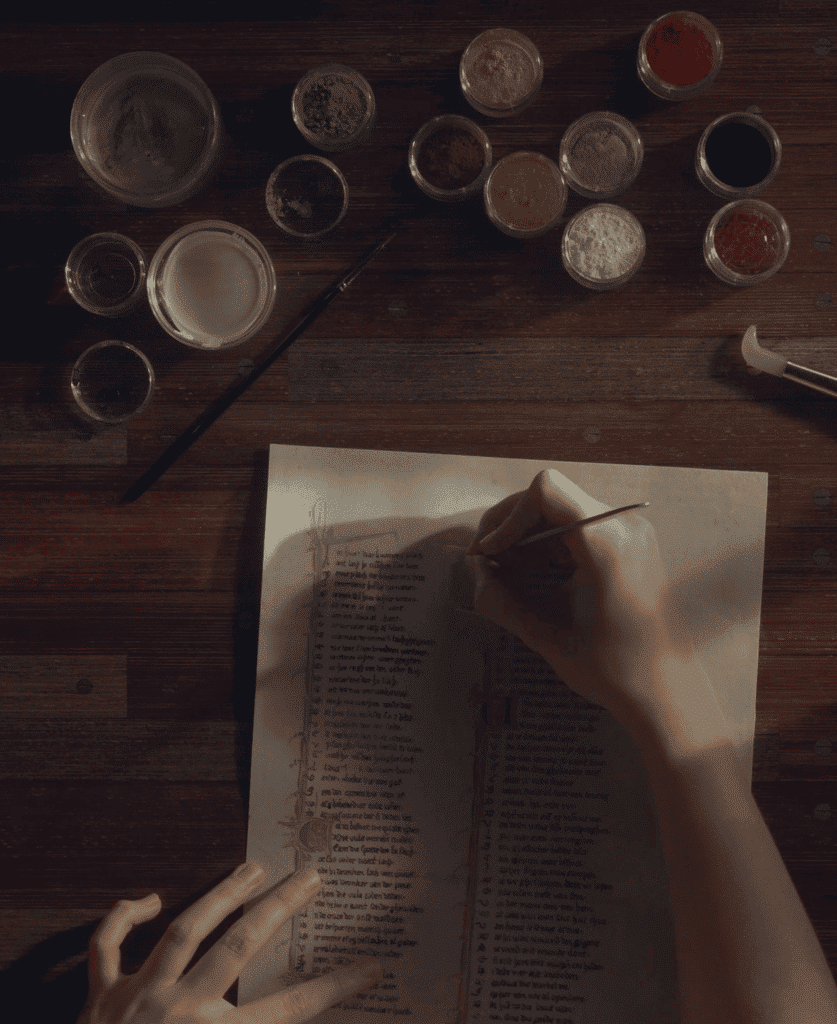
Medieval illuminators did not have boxes of watercolours or tubes of gouache lying around in their workshops. The colours they used were obtained from natural ingredients or were the result of chemical reactions. While some colours were easy to obtain, most were the result of complex recipes.
A medieval illuminator had an impressive number of different colours at his disposal, some of which came from faraway regions:
- Red: the colour red could be obtained from cinnabar, a mineral that was washed, crushed and then heated to remove impurities. Difficult to find (of good quality) in nature, its synthetic version, vermilion, was more widely used. Minium, obtained by calcining lead white, is considered to be the oldest artificial pigment. Carmine (extracted from cochineal), rose madder and Brazilwood was also used to make this colour.
- Blue: the colour blue could be of mineral origin. Azurite is a stone that was washed and then ground to obtain the pigment. The coloured part of lapis lazuli could also be extracted to obtain this colour. Particularly precious, lapis lazuli comes from the mountains of Afghanistan and had to travel a long way before arriving in European workshops. Indigo or pastel were vegetable dyes.
- Yellow: yellow pigments were obtained from mineral elements such as ochre or from melting the mineral realgar and sulphur. Saffron is a plant element that was also used to obtain this colour.
- Green: the colour green was sometimes derived from mineral elements such as malachite. It could also come from a reaction of acetic acid mixed with copper called verdigris or by mixing yellow and blue pigments.
- White: white was generally obtained from lead, a particularly toxic material.
- Black: black pigments were either obtained from elements of vegetable origin, such as the carbonisation of wood or plants, or of animal origin, from the calcination of bone or ivory.
Making green pigment
Coat copper, beaten out into sheets, with honey or the froth of cooked honey and put beneath it in a pot broad laths of wood, and pour over it a man’s urine. Let it stand, covered, for 14 days.
– Mappae Clavicula, a medieval text text containing manufacturing recipes for crafts materials from the 8th century, supplemented and amended until the 11th century.
Mix it up!
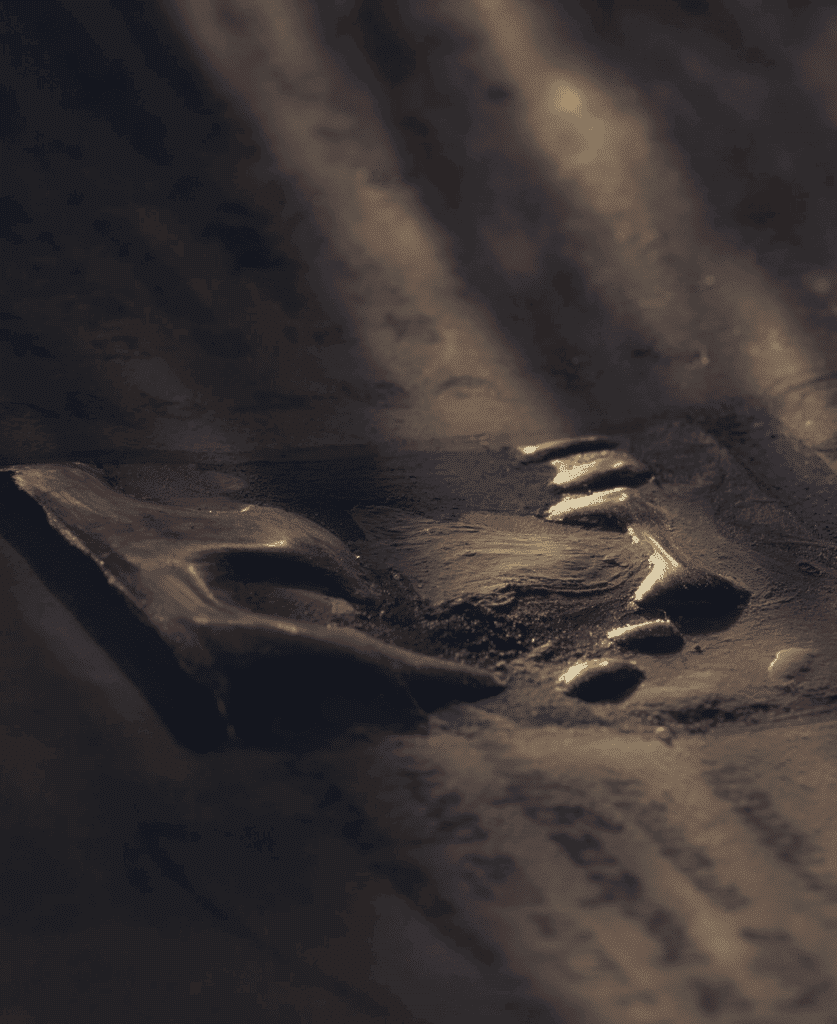
Pigments alone were not enough to obtain the paint as such. A binder had to be added that would enable the pigments to adhere to each other and to the parchment.
Grinding and mixing paint were important steps in the production of an illuminated manuscript.
In the Middle Ages, the main binders used in illuminations were egg white, gum arabic and animal glues (such as that made from fish bones). Honey was sometimes used as a “plasticiser” to give the paint a glossy appearance.
Handling the brush
After all these preparations, it was finally time to paint. The miniaturist had a multitude of brushes of various thicknesses, with rigid and flexible hairs as well as a knife to mix the colours.
They started by painting the large letters or initials. The lines that the copyist had not entirely covered with text were completed with simple decorations. Often the space around the text was decorated with “marginalia“. The miniatures were created last.
The colours were applied in several stages:
- The base colours,
- The shades of colour that were used to create the shapes and highlights (white, yellow, shell gold, etc.),
- Applying the details that brought the image to life.
When all the miniatures were finished, it was (finally) time to bind the manuscript. That’s when the expression “travail de bénédictin” in French, which is used to mean a painstaking task, begins to make perfect sense…